 Here’s what to expect working with Sarah in her 7 Step Process for wedding invitations: 1. ConsultationMeet and greet to review wedding plans, ideas, etc. This is the time to discuss your vision and design ideas. Sarah will talk about budget, expectations, goals and timeline. 2. Proposal & DepositAfter meeting Sarah, she will send over a proposal that includes itemized estimates for the design and printing production costs. Once the proposal is signed, a 50% design deposit is due before any design work begins. 3. Timeline & Paper Goods InfoSarah will send over a design and production timeline. 4. Design Concepts & CollaborationThe fun part! This is where creativity and collaboration begins! During this phase, Sarah will present two design options with samples and physical mockups for your design review meeting (either in person or over the phone). For each design, detailed print estimates are provided and you’ll share any input on the design of your choice. 5. RevisionsAfter the design is selected, there are an additional three rounds of revisions to ensure everything is perfect (if necessary). 6. Final Approval & PaymentOnce the final design is approved, the remainder of design and printing fees are collected before the files are sent to the printer. 7. Production & DeliveryAll print production and quality of the product is coordinated and handled by Sarah. If applicable, shipping costs and delivery fees are selected and paid in advance. Sarah is accepting clients for the 2020 wedding season -- space is very limited! Contact her today!
0 Comments
 First things first… what is your wedding invitation budget? I’ll give you a hint: couples should reserve 3-5% of their total wedding budget for invitations. Go 3% if wedding invitations are not a priority; go 5% if you want to wow your guests. It should come as no surprise that wedding invitations are expensive. Let’s put it into perspective. How much did you spend at the store for your mom’s birthday card this year? I bet it was at least $2.00 for ONE card and envelope—not including postage by the way. Postage alone for 150 wedding invitations comes to $105.00 and that is NOT including postage for the rsvp return envelope. Whoa! Hello? Wake up call! Ok, take a deep breath. I’m breakin’ it all down for you below—by dollar amount—to help set your expectations. WEDDING INVITATION BUDGET IS $250-$500Unless you are having a very small intimate wedding of 25 people, this budget is a challenge. You realistically have one choice, and that is to DIY. Here are a few suggestions on what you can do to make this budget work:
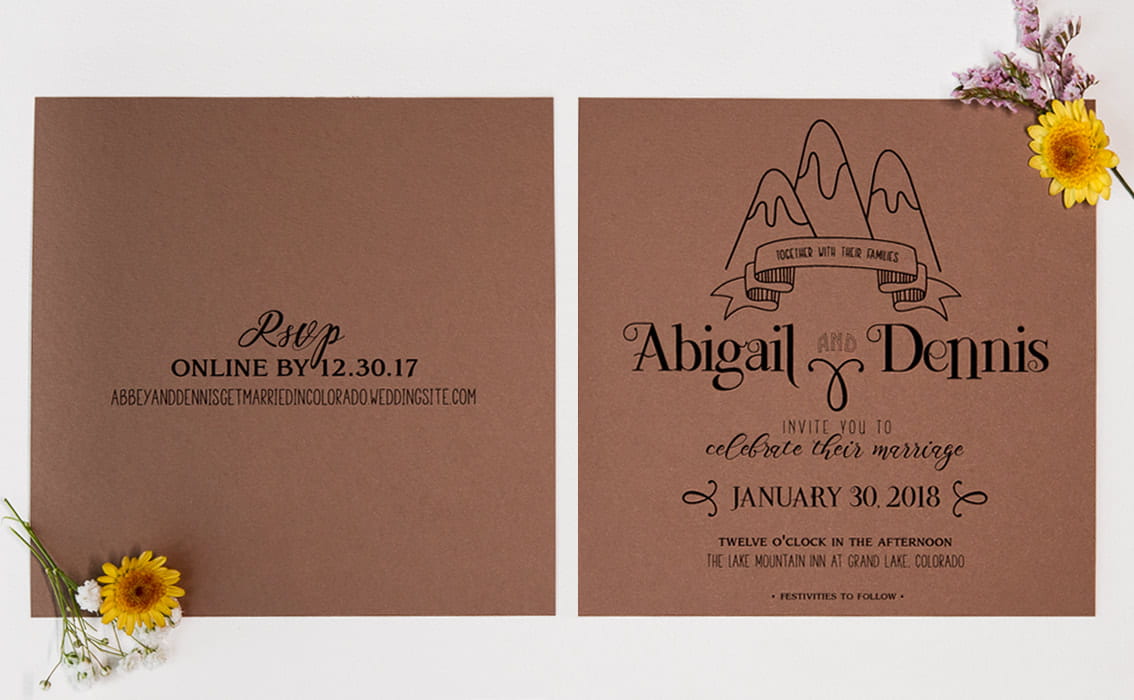 WEDDING INVITATION BUDGET IS $500-$750With this budget you can trade the all-consuming DIY for the all-consuming online stationery shops. Search through thousands of designs to find the one that closely fits your awesome wedding theme and have them take care of the printing for you.
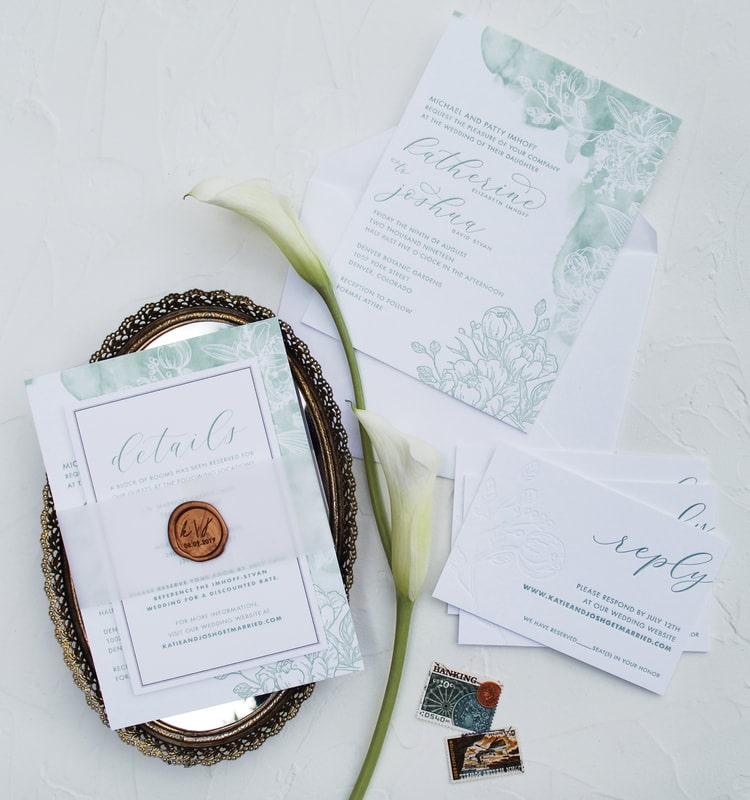
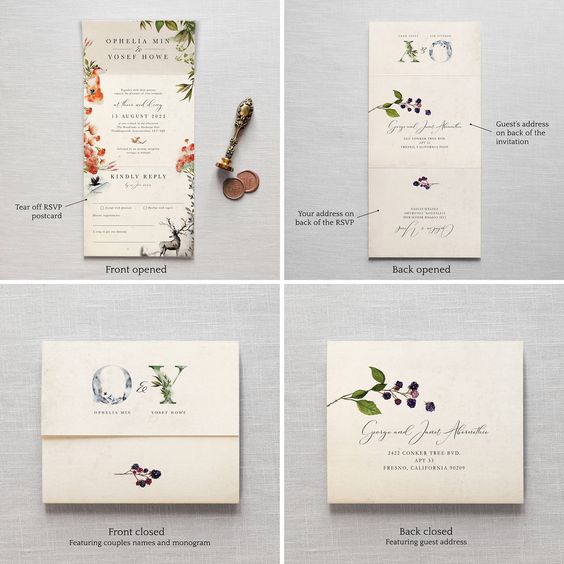 Design by FeelGoodInvites {www.feelgoodinvites.com} WEDDING INVITATION BUDGET IS $750-$1000Now you can upgrade to a higher price point within those online stationery shops and select from more formal invitation layouts.
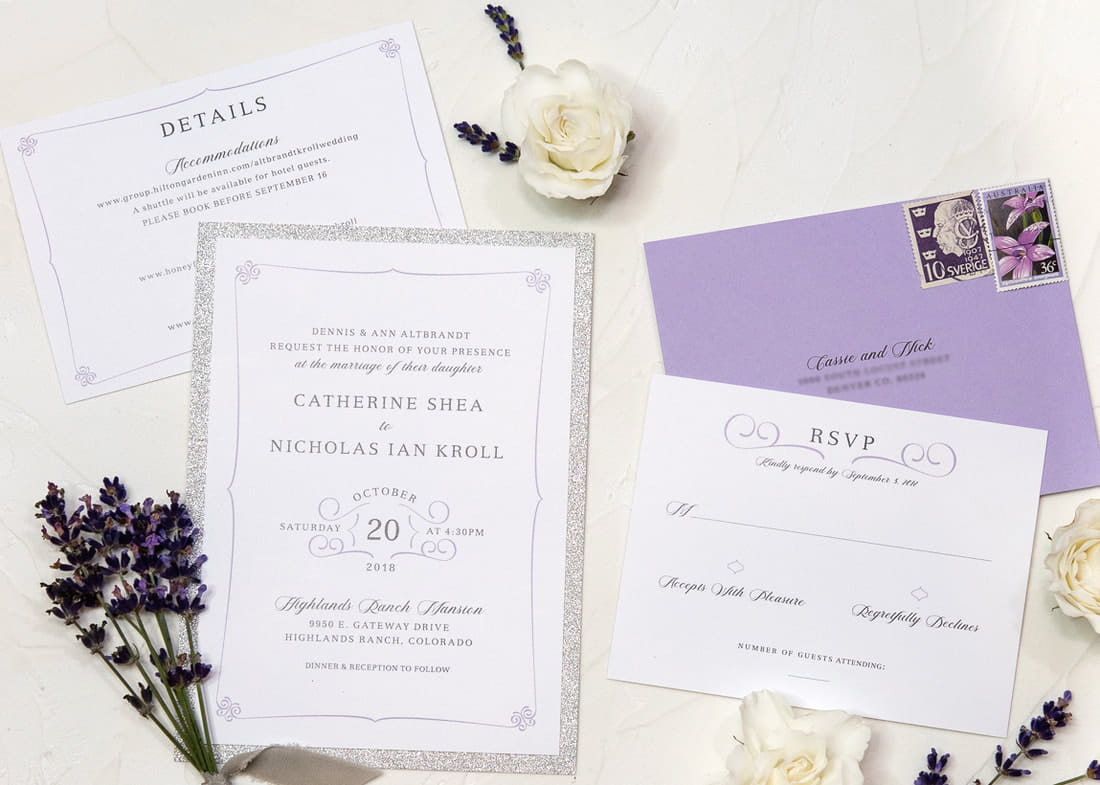 WEDDING INVITATION BUDGET IS $1000-$2000Go local and search out a custom invitation designer! A lot of couples don’t even know we exist, so I’m telling you now… we do exist and we rock! Ask your photographer or event planner for a referral—both of these vendors work closely with wedding stationery designers.
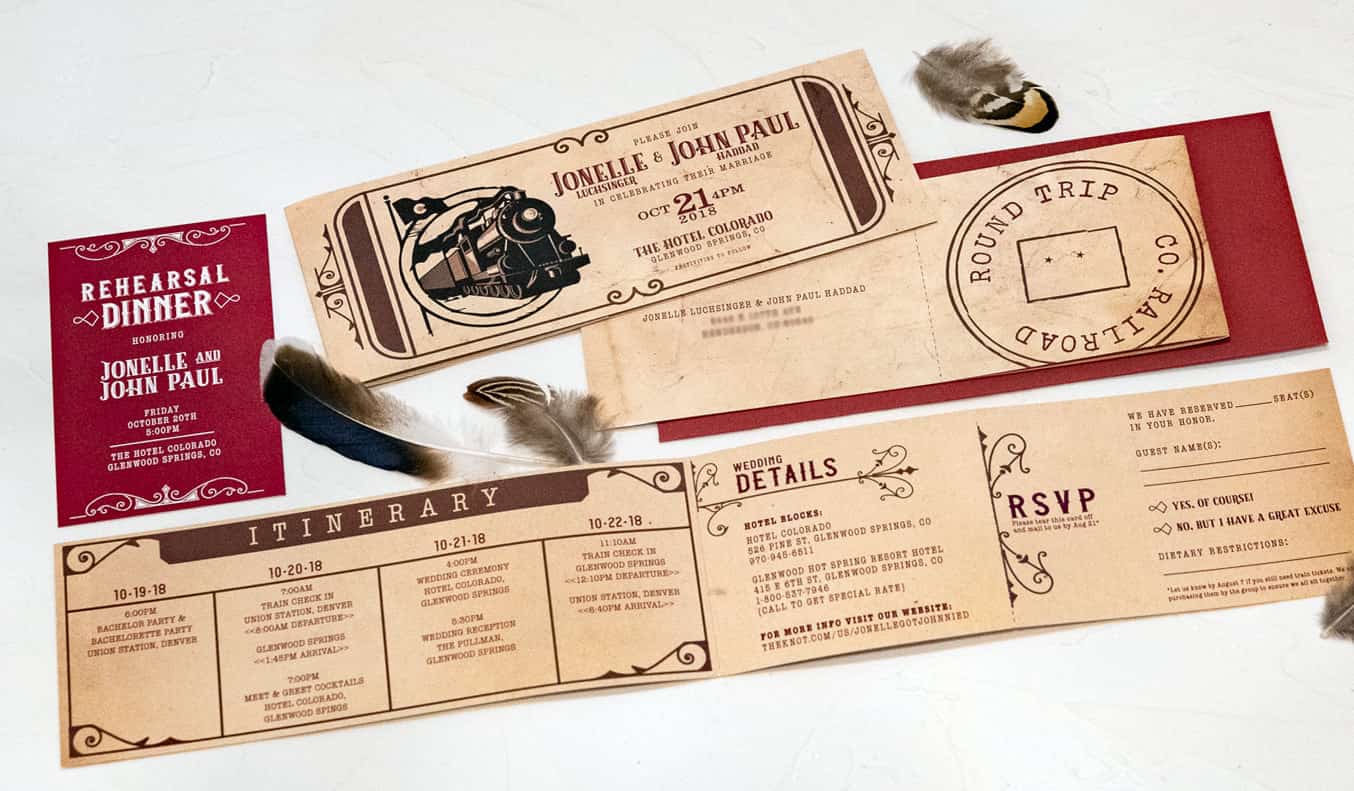 WEDDING INVITATION BUDGET IS $2000-$3000This is a sweet spot for more formal invitations. Absolutely you can hire a custom invitation designer and create…
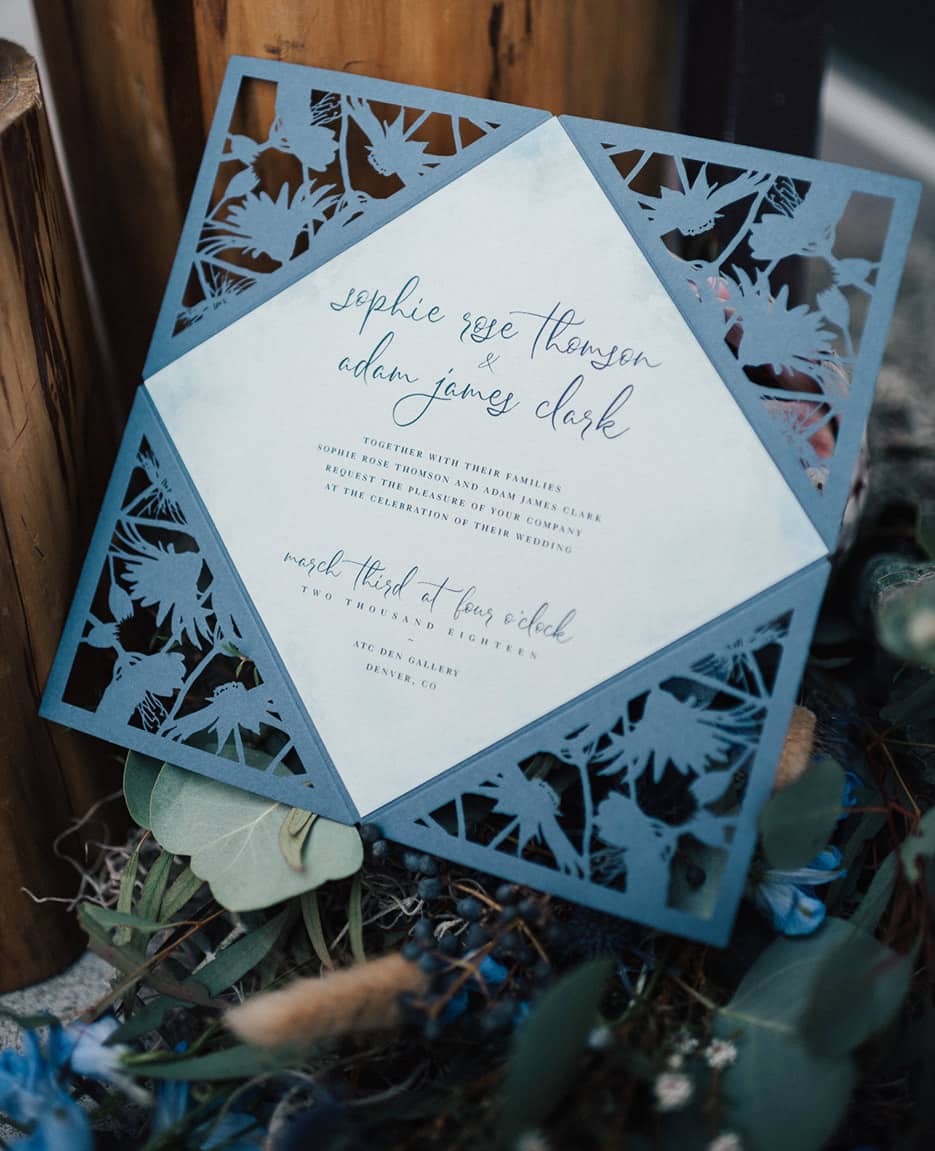 WEDDING INVITATION BUDGET IS $3000+For those who want every bell and whistle for a very large and formal wedding.
 For more information on wedding invitation design options, visit my blog
CUSTOM INVITATIONS VS. TEMPLATE DESIGNS  Putting together your event guest list is tricky stuff. Unfortunately this project isn’t complete when the amount of people is finalized. Then you have to take those guest names and address your envelopes. I recommend putting your guest list in a spreadsheet right away. You can add, delete and edit as you go along. Create multiple spreadsheets if necessary and move people around as needed without missing anyone. This will also help you gather addresses and keep organized when it comes to day-of items like a seating chart and escort cards. In the end—informal event or not—you should always address your invitations formally. Proper addressing etiquette is a lot easier than you think. I hope my tips below help you out! 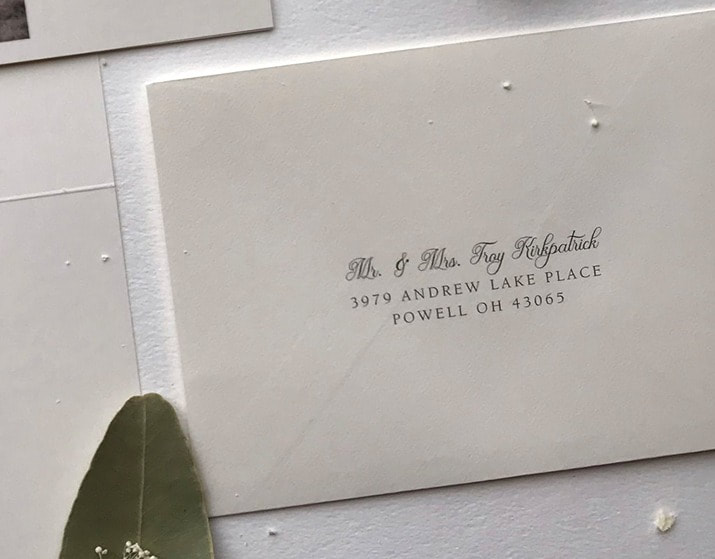 DO write out full names DON'T use initials or nicknames DO write out “Boulevard”, “Street”, etc. DON'T write out house numbers and zip codes DO put men's names first unless his spouse out ranks him with a title DON'T use middle initials 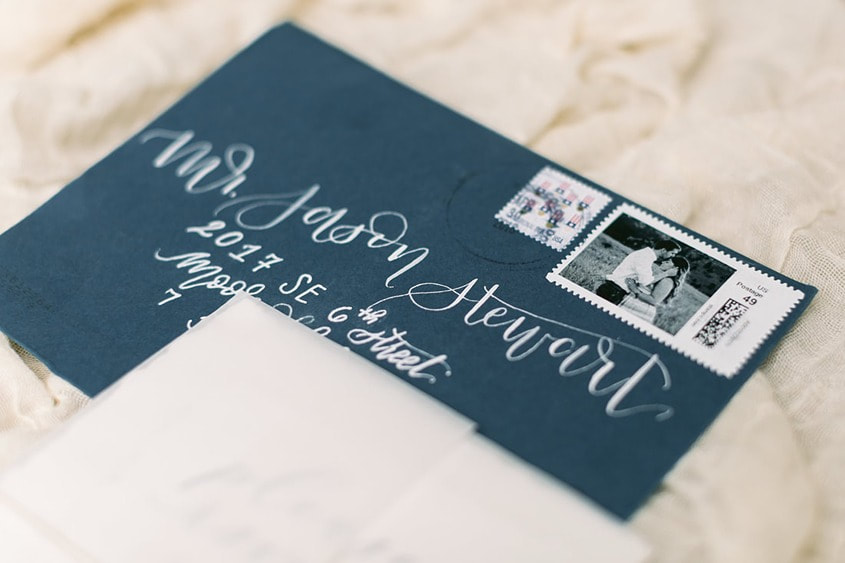 DO use Mr, Mrs, Ms, etc. DON'T abbreviate other titles such as “Doctor” or “Reverend” DO use Miss for women under 18 years old DON'T use Ms for all unmarried women 18 or older DO mail a separate invitation for children over 18 in the same household DON'T use the husband’s name if addressing to a widow 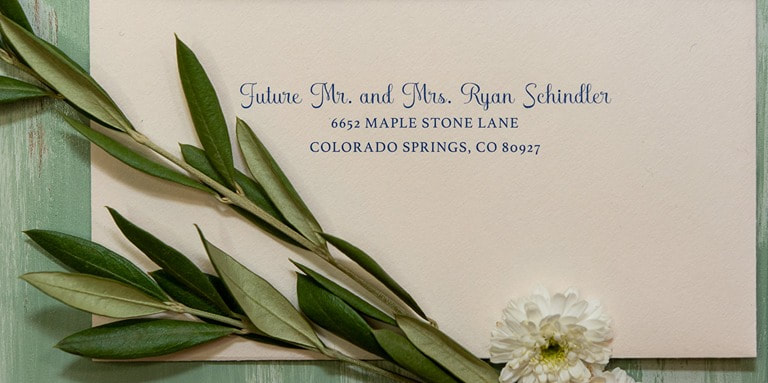 DO research specific titles for ministers/clergy, elected officials, etc. DON'T use incorrect titles - when unsure - Google it! DO include a return address DON'T use adhesive mailing labels DO ask people how they’d like to be addressed if you are unsure DON'T assume or guess Tip: If you have questions about invitation addressing etiquette contact a local stationery designer and inquire! I know I am always available to help anyone out, client or no client. For Do’s and Don’ts on Wedding Invitations see my 5.15.19 blog.
You gotta love a couple who is willing to mix it up! Colleen and Nick got married last summer in Littleton, Colorado on August 24 at The Arrowhead Golf Club. These two super fun people combined soft floral elements with their love of strong Colorado brews! 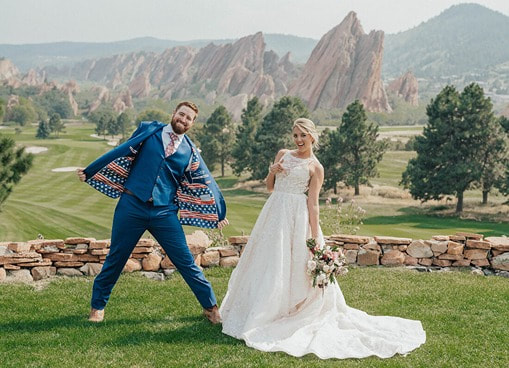 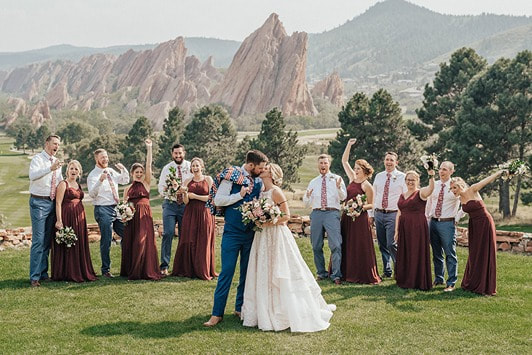 The Wedding Invitation Suite Colleen had a clear vision for the wedding invitations: "bold meets beauty". We used classic fonts in a dark burgundy and surrounded them with a natural watercolor floral design. Nick felt the invitation suite pushed too feminine, so we brought in a blue rsvp envelope and details card for balance. Both of them loved the idea of the burgundy panel pocket enclosure to safely hold together all of the separate cards. 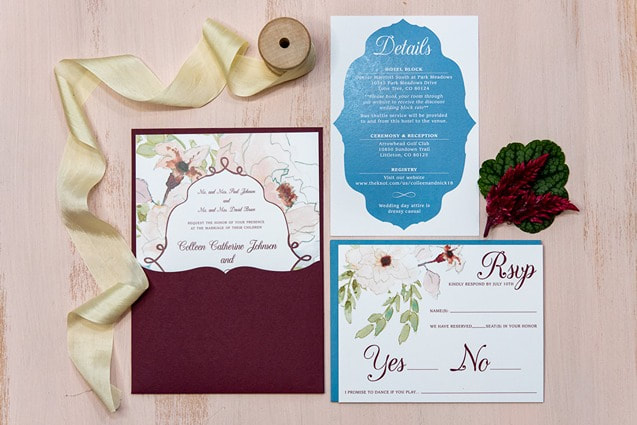 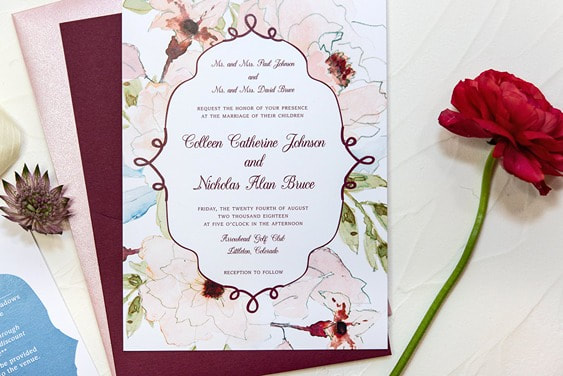 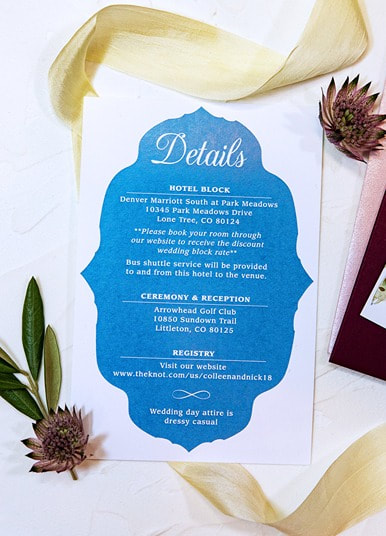 This bride and groom wanted the whole look and feel of their wedding to be consistent throughout, so they came back to me to create their day-of wedding signage. To make certain all elements would come together with the day-of decor they had chosen, we implemented the same colors, fonts and design motif as used on the invitation cards. The Wedding Seating Chart This wedding had a ton of guests. Colleen and Nick were searching for a way to organize seating for the large reception that would take place in a tent. To save some space, I recommended a fabric sign that could hang just outside of the tent. Fabric signage also worked perfectly for this outdoor wedding because it would hold up if rain rolled into town. Since this couple has an intense love for Colorado beer, Colleen and Nick decorated their reception tables with growlers they collected from local Colorado breweries! We then used the coordinating brewery logos on the seating chart to help guests find their seat. 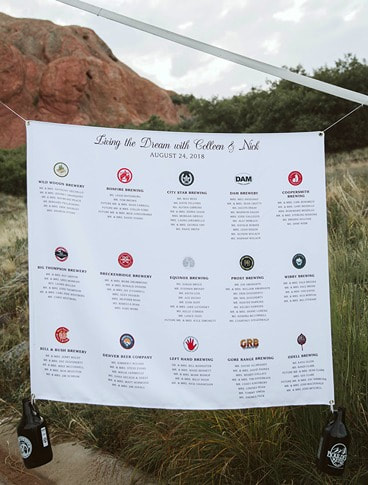 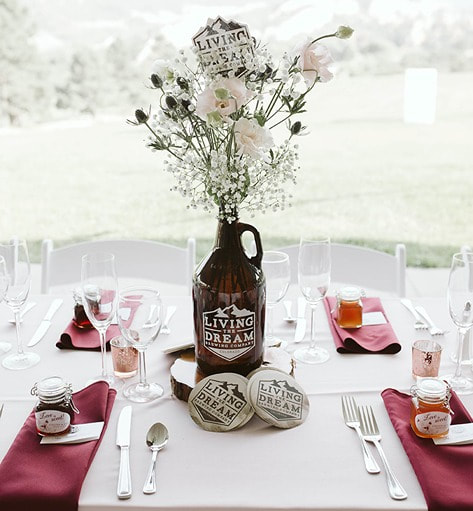 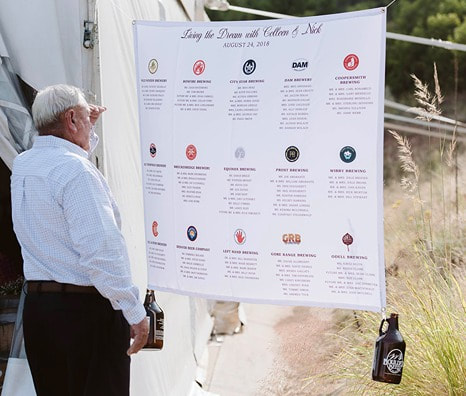 The Wedding Favors Finally Colleen and Nick hired me to design and print labels for their wedding favors. Little jars were filled with honey and left on each guest’s place setting. I applied the same floral artwork from the wedding invitation and added a honey bee. These labels are such a simple touch, but they personalize an otherwise ordinary jar of honey. 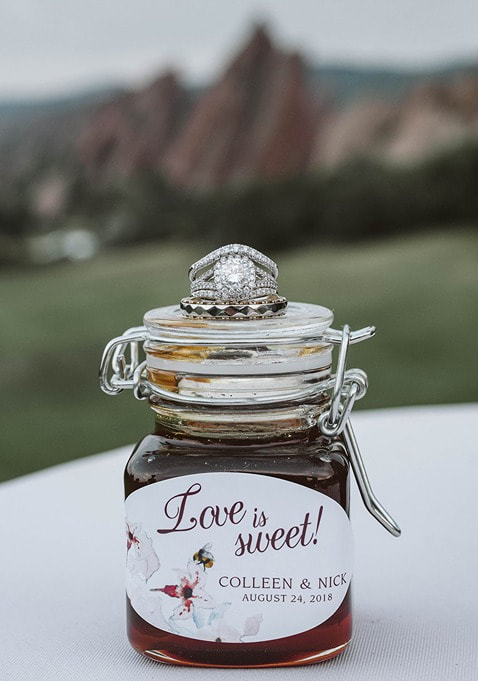 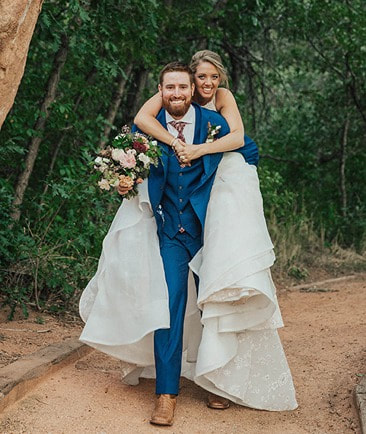 Colleen & Nick’s Photographer: Jo Julia Photography jojuliaphotography.com Instagram: @jojulia Colleen & Nick's Wedding Planner: Blue Linden Weddings & Events bluelindenweddings.com Instagram: @bluelindenweddings For more real wedding inspiration, see my blog
A COLOR-BLAST SPRING WEDDING  We LOVE Pinterest! No more huge wedding binders or pricey wedding magazines. It is simple to use and the ideas are endless. Plus, it isn’t just magnificent eye-candy, most pins are clickable—connecting you to web pages where you can purchase the items you love, explore blogs with tips and advice, or find a wedding invitation designer whose work matches the design style you are trying to achieve. BUT absolutely definitely be warned—Pinterest can also be very dangerous. “Pinterest is a time-suck!” says every bride I know. “It sets unrealistic expectations!” exclaims wedding planners. So how can you use Pinterest for good? How can we avoid it having a frustrating effect on you and your wedding vendors? I have a few ideas below. 1. Search VERY specific keywords Search “3-tier blush and green floral wedding cakes” instead of “wedding cakes”. Make some simple decisions on your event before you dive deep into Pinterest: know your color palette, know your theme, and select a design style. This will tighten up the imagery results so you don’t spend hours looking at wedding cakes when you could be spending quality time with your new fiancé! 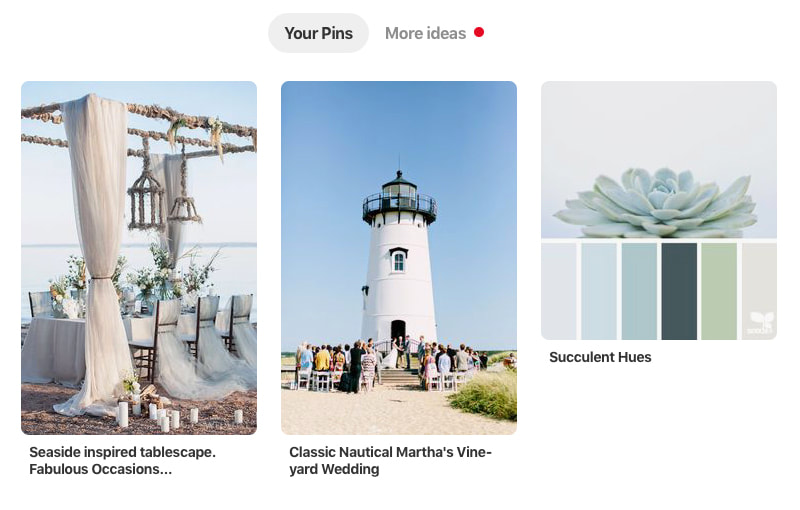 2. Know what you DON'T want This is so easy! Dissect images that catch your eye. Does that amazing tablescape look too formal for our rustic backyard bash? That tight rose bouquet doesn’t match our relaxed boho theme at all! Constantly go back through your Pinterest board and delete pins that don’t flow with your overall look and feel. It will make you feel less overwhelmed when you go back in for inspiration later. 3. Create a board with your wedding planning/design team Most wedding planners now offer a “design package”. This is a fabulous idea! Ask your wedding planner to pin inspiration for you. Then, you can set a time to review them together and make final decisions. Your planner—knowing your style and theme—can guide you to the best vendors based off of your pins. They can also pin items they know you can afford based on your budget. That way you aren’t falling in love with letterpress invitations when your budget only allows for digital printing. 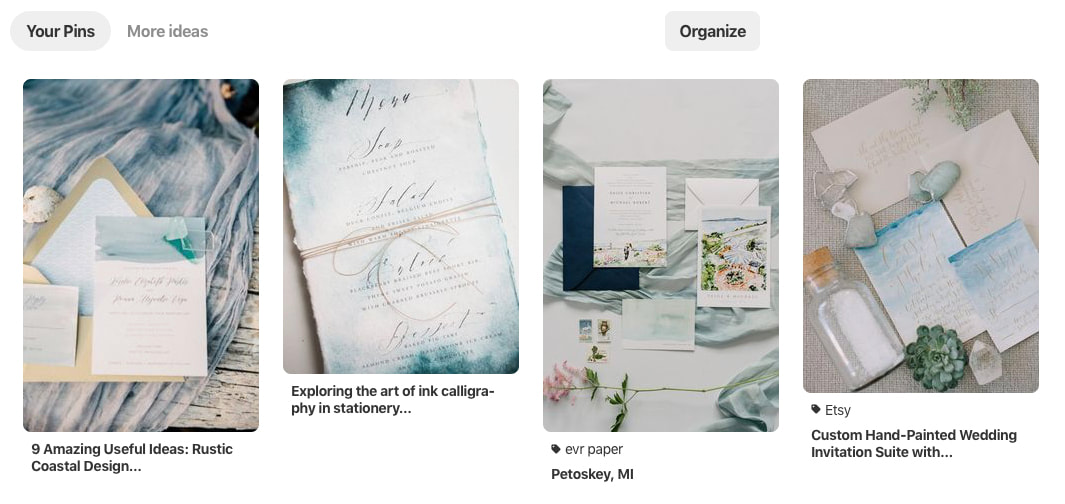 4. Avoid Pinterest fails Attention DIY couples! Please please understand that every idea you add to your DIY list will take 5X longer than planned. Plus, when you are rushing around 3 days before your wedding, that project you bought $250.00 worth of supplies to create will either look disappointing or won’t happen at all. Remember, 99% of those stunning designs on Pinterest are created by seasoned professionals with large teams. Keep the DIY projects realistic and to a bare minimum.  5. Remove pins when items are purchased Look forward, not back. You found the wedding dress of your dreams. Now get on your phone, log into Pinterest, and delete your dress board. Don’t be sucked into those pins again a month later and start second-guessing your decisions. Be thrilled that item is off the to-do list. Now you can start pinning shoes and accessories! Designs by Sarah, based in Denver, CO, specializes in custom wedding invitation design.
Click here to follow my Pinterest account! |